You just got a new car audio amplifier installed — power, ground, and remote wires connected, RCAs hooked up, speaker wires run. Now what? There are several settings on a car amplifier that need to be correctly configured to get the best performance and protect your equipment. Get them wrong and you could end up with distorted sound or damaged gear.
Different amplifiers have different features, and the terminology varies by brand and model. But understanding the basics applies across the board. A monoblock amplifier will have a slightly different set of controls than a multi-channel amplifier, but the core settings are the same.
Always tune your amplifier in this order:
Gain / Level
Gain (also labeled Level) matches the output voltage of your head unit to the input sensitivity of your amplifier. Head units vary in their output voltage, so the gain setting lets you calibrate the amplifier to the signal it is receiving. If gain is set too high, you are over-amplifying the signal and sending clipped, distorted audio to your speakers — which sounds bad and can cause damage.
A monoblock amplifier has one gain dial since it has one channel. A multi-channel amplifier typically has separate gain settings for different channel groups. On a four-channel amp, there are usually separate gain controls for the front and rear channels. This allows for different impedances on front and rear speakers, which — using Ohm's Law — will require different gain settings to achieve matched output levels.
Crossover (X-Over)
The crossover setting determines which frequencies are sent to your speakers. Most amplifiers offer three options:
- LPF (Low Pass Filter) — allows only low frequencies through. Use for subwoofers.
- HPF (High Pass Filter) — allows only high frequencies through. Use for speakers and tweeters.
- FR (Full Range) — passes all frequencies. Use when the crossover is being handled elsewhere.
When using smaller speakers like 4" coaxials, select HPF to protect them from low frequencies they cannot reproduce. This also focuses the amplifier's power on the frequency band those speakers are suited for — if a subwoofer is already handling the lows, there is no reason to send them to your door speakers too.
On many four-channel amplifiers, the front channels are factory set to HPF since front channels are almost always used for speakers. The rear channels often have a selectable filter, which makes them flexible enough to be used for speakers, tweeters, or a bridged subwoofer output.
HPF and LPF Frequency Adjustment
Once the crossover mode is selected, the frequency dial lets you set the exact crossover point. The goal is to send only the frequencies each speaker can handle — nothing more, nothing less. Sending all frequencies to all speakers makes the amp work harder, causes drivers to attempt frequencies they cannot reproduce, and reduces headroom.
Headroom is the available power reserve of your amplifier. An amplifier running at full capacity constantly has no headroom left for dynamic peaks in music. Proper crossover settings keep power flowing where it belongs, preserving headroom for heavy bass hits and transient signals.
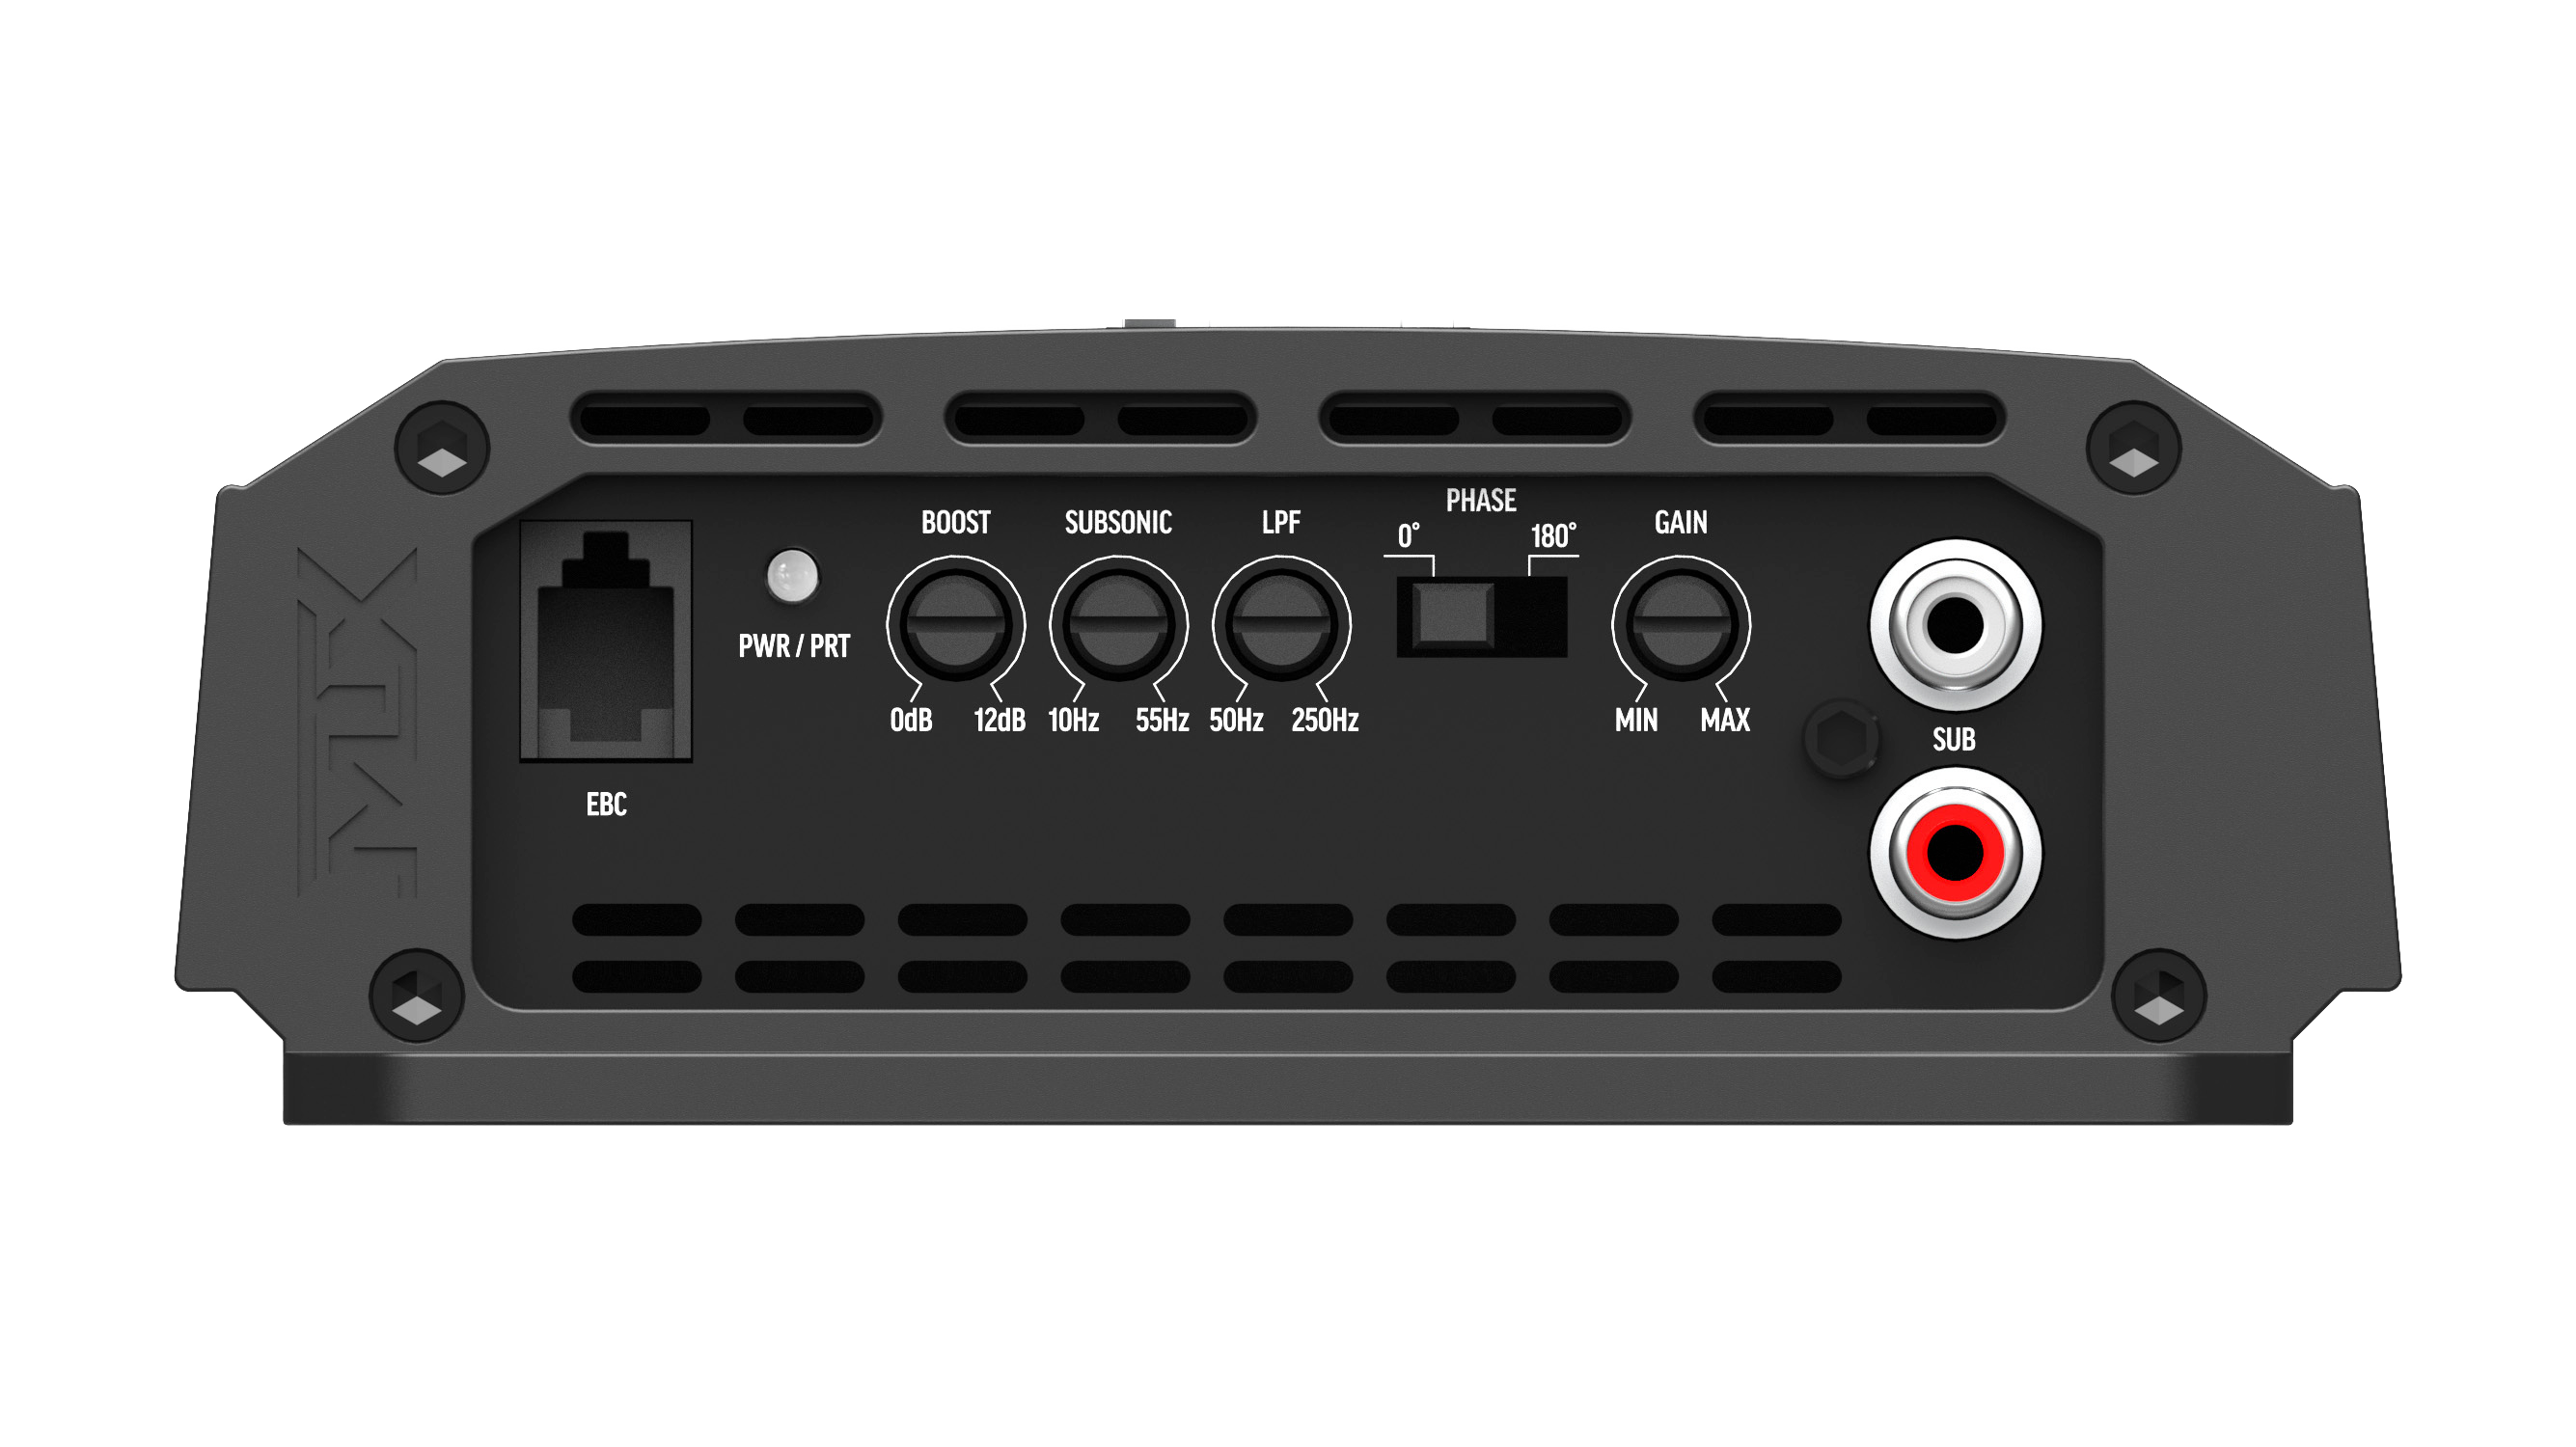
To set the LPF on a subwoofer amp, disconnect the RCAs from any amplifiers not being tuned. Set all head unit EQ settings flat — no bass, treble, or boost. Play music at around 75% volume with the LPF set as high as it will go. Slowly turn it down until you stop hearing high frequencies — vocals, guitars, cymbals — through the subwoofer. Stop there.
To set the HPF on a speaker amp, similarly disconnect other amplifiers and play music at 75%. Adjust the HPF from low to high until bass drums and low-end content disappear from the speakers. Once both are set, reconnect all RCAs and fine-tune together — at this point only small adjustments should be needed to make the transition between speakers and sub seamless.
Bass Boost
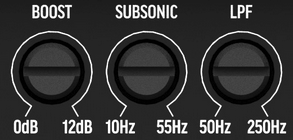
Bass boost is a commonly misunderstood and misused feature. More bass sounds appealing, so the instinct is to turn it all the way up. Don't.
With music playing at 75% and head unit EQ settings flat, you can carefully increase bass boost to hear the effect. A small amount of boost adds kick to bass notes — but this is also where distortion starts. If you hear distortion after adding boost, either turn gain down until it clears, or reduce the boost. Find the balance.
Never add bass boost without adjusting gain afterward. Bass boost directly after a high gain setting is a reliable way to damage your subwoofers.
Subsonic Filter
The subsonic filter is essentially an HPF for your subwoofer — it attenuates frequencies so low that the subwoofer cannot reproduce them, or that humans cannot hear. Humans generally hear from 20Hz to 20,000Hz. Sending frequencies below 20Hz to a subwoofer produces no audible output but still excites the cone, wasting power and adding mechanical stress.
The subsonic filter is especially critical for vented enclosures. If your ported box is tuned to 33Hz, frequencies well below that lose the restoring force of the enclosure air and cause the cone to move with almost no resistance — leading to over-excursion and driver failure.
To set it, turn the system to maximum volume and play music with the lowest frequencies you have, or use a test tone. Adjust the subsonic filter until the subwoofer plays as low as possible without bottoming out. Watch the cone and listen. Find the point where it moves freely at both ends of its travel without hitting the limits.
Remote Bass Control
Some amplifiers include a remote bass control — a small knob that mounts within reach of the driver and adjusts the amplifier's gain on the fly. This is a useful feature for people who listen to different genres. When switching from hip-hop to country, the ability to reduce bass output without reaching back to the amplifier is genuinely convenient. For more on this feature, see the external bass controls guide.
More Amplifier Features
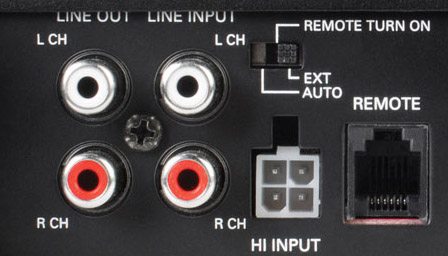
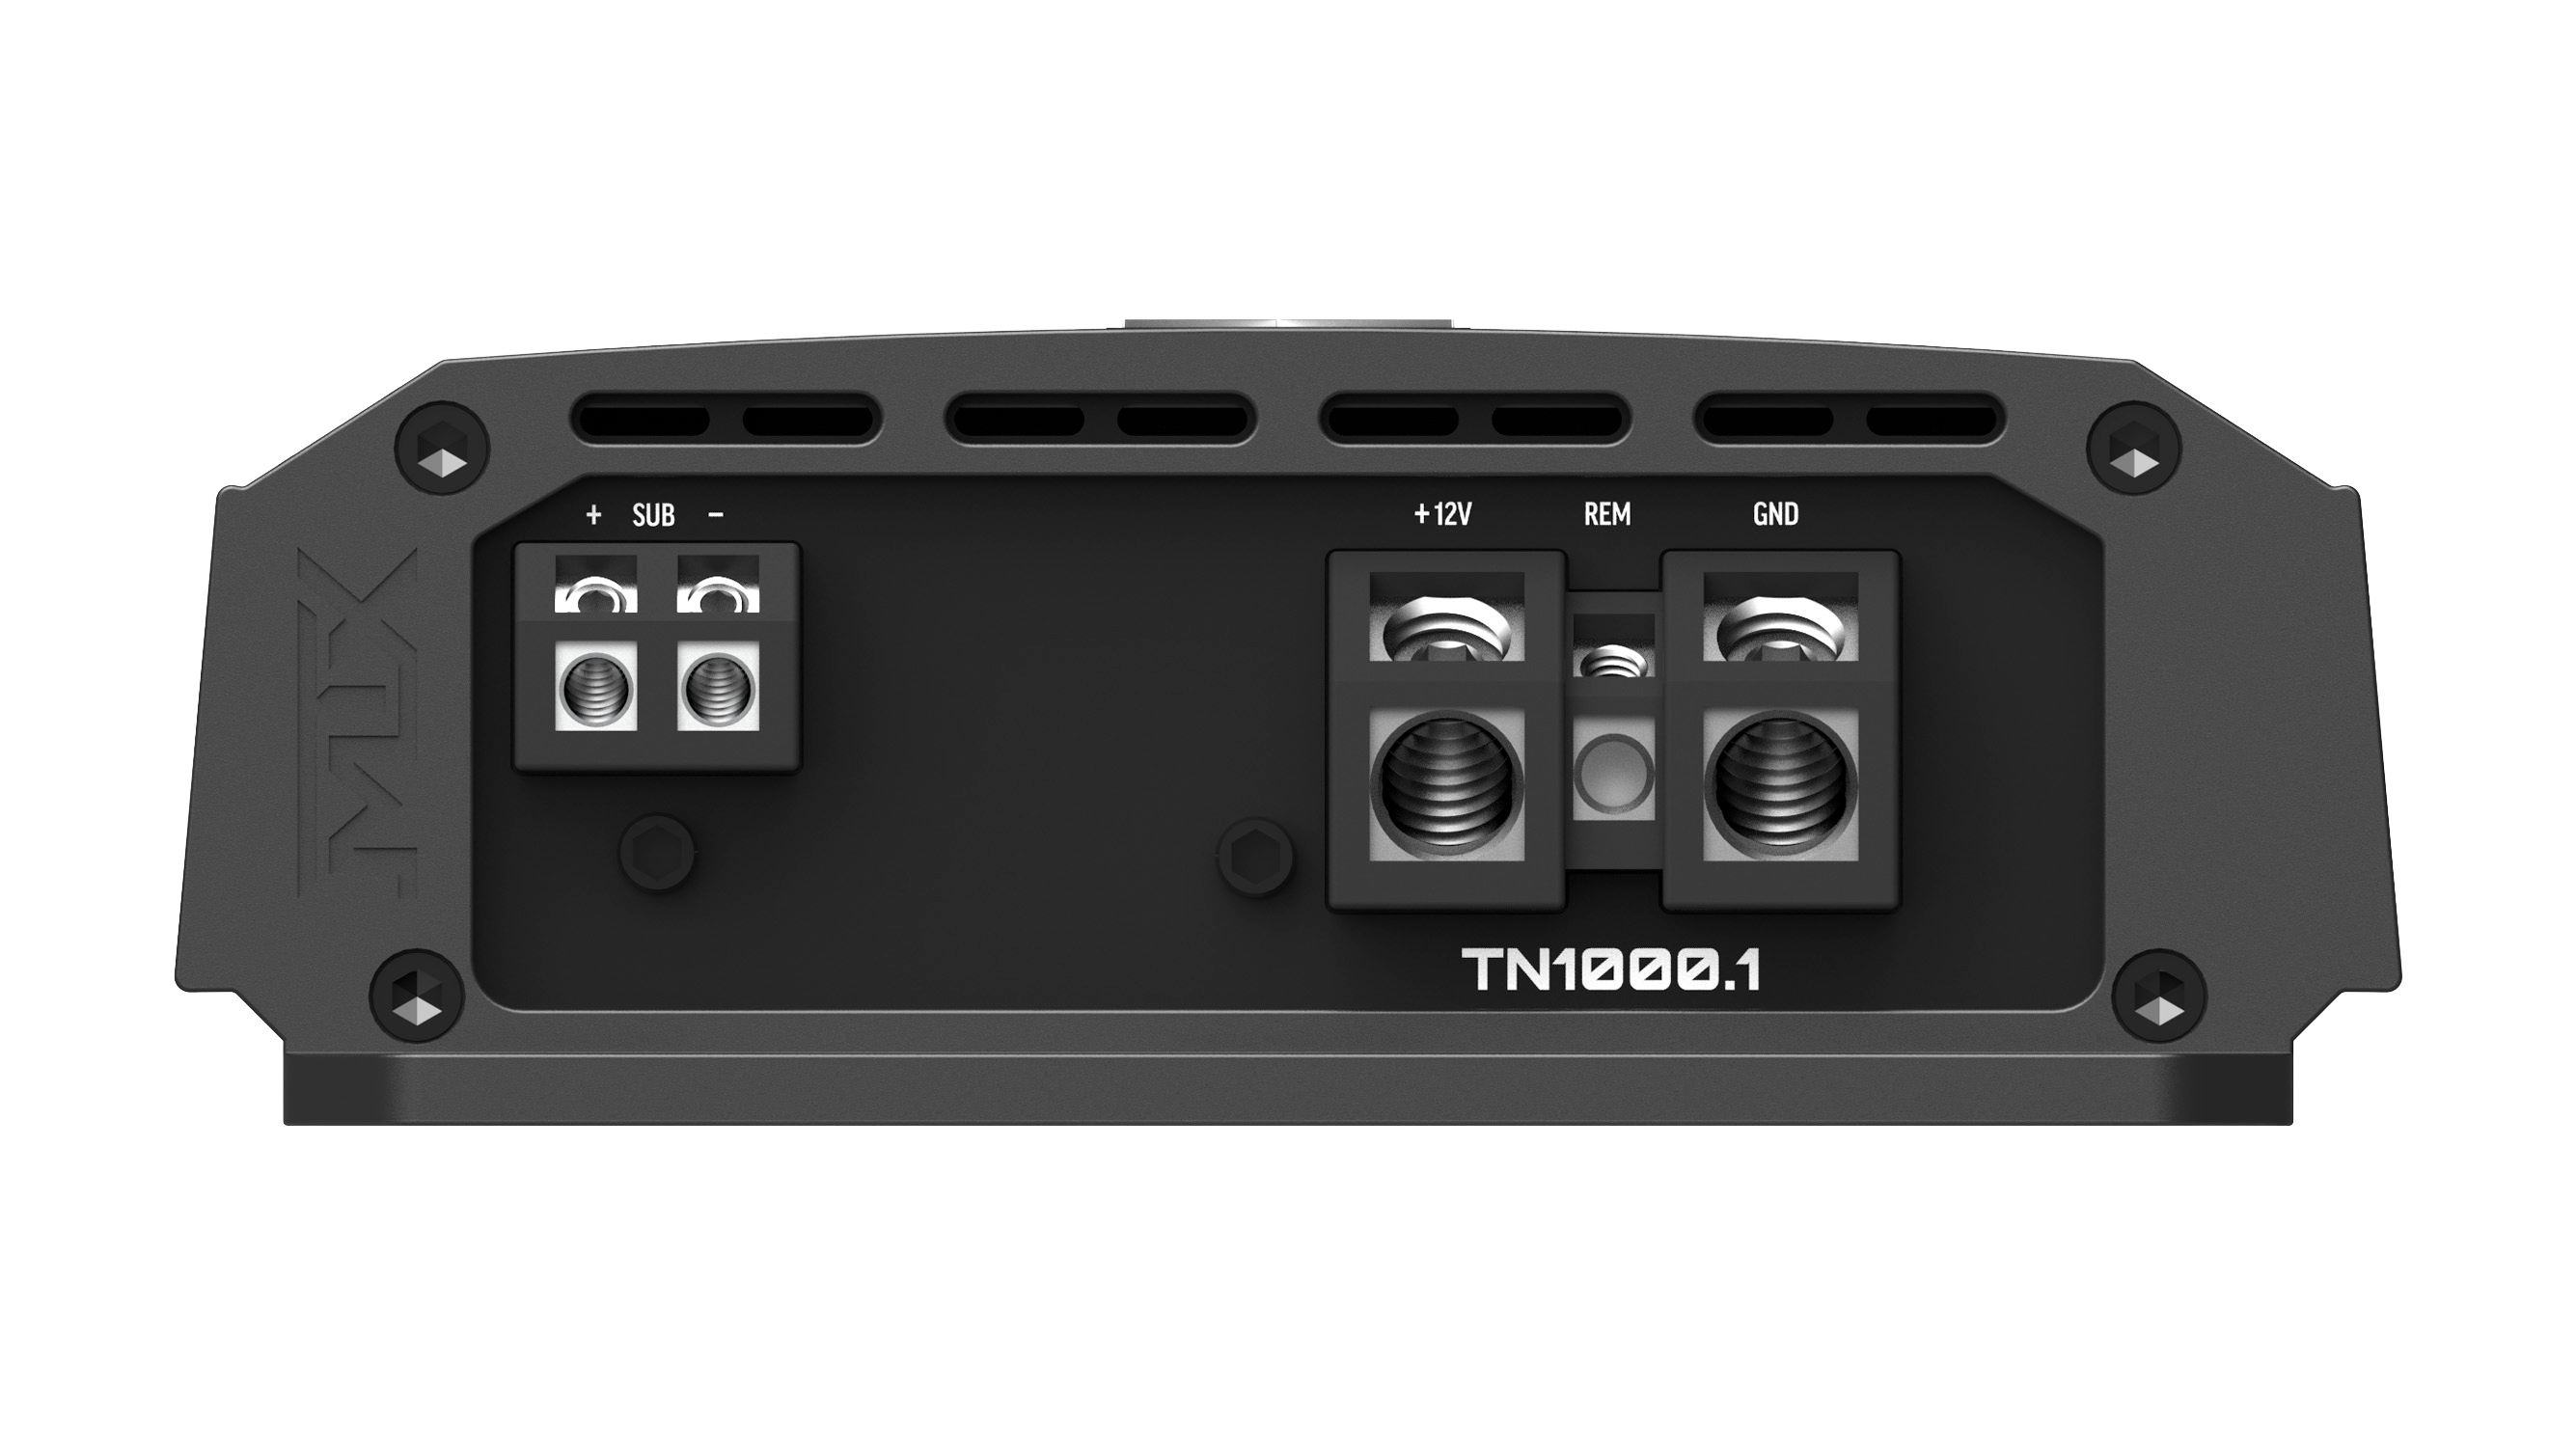
Hi Level / Lo Level Inputs — Lo level (line level) inputs accept standard RCA cables from the head unit. Hi level inputs allow you to tap into factory speaker wiring to get the audio signal, eliminating the need to run RCA cables the length of the vehicle. Hi level inputs are especially useful when retaining a factory head unit. Most MTX amplifiers include built-in hi level inputs.
Line Output — allows you to pass the audio signal from one amplifier to another using a short RCA cable, rather than running a second long cable back to the head unit. If your system has multiple amplifiers, line outputs simplify the signal chain and reduce cable runs.